Photo spectacle pyrotechnique travaillée avec Picsart
/image%2F0537095%2F20231019%2Fob_17859a_b8c9e57e-e297-4447-bc0b-6d12a036ba49.jpeg)
/image%2F0537095%2F20231019%2Fob_9ee03c_9a17cb81-68a7-4949-bfde-c2dc8000970c.jpeg)
Bonjour à tous,
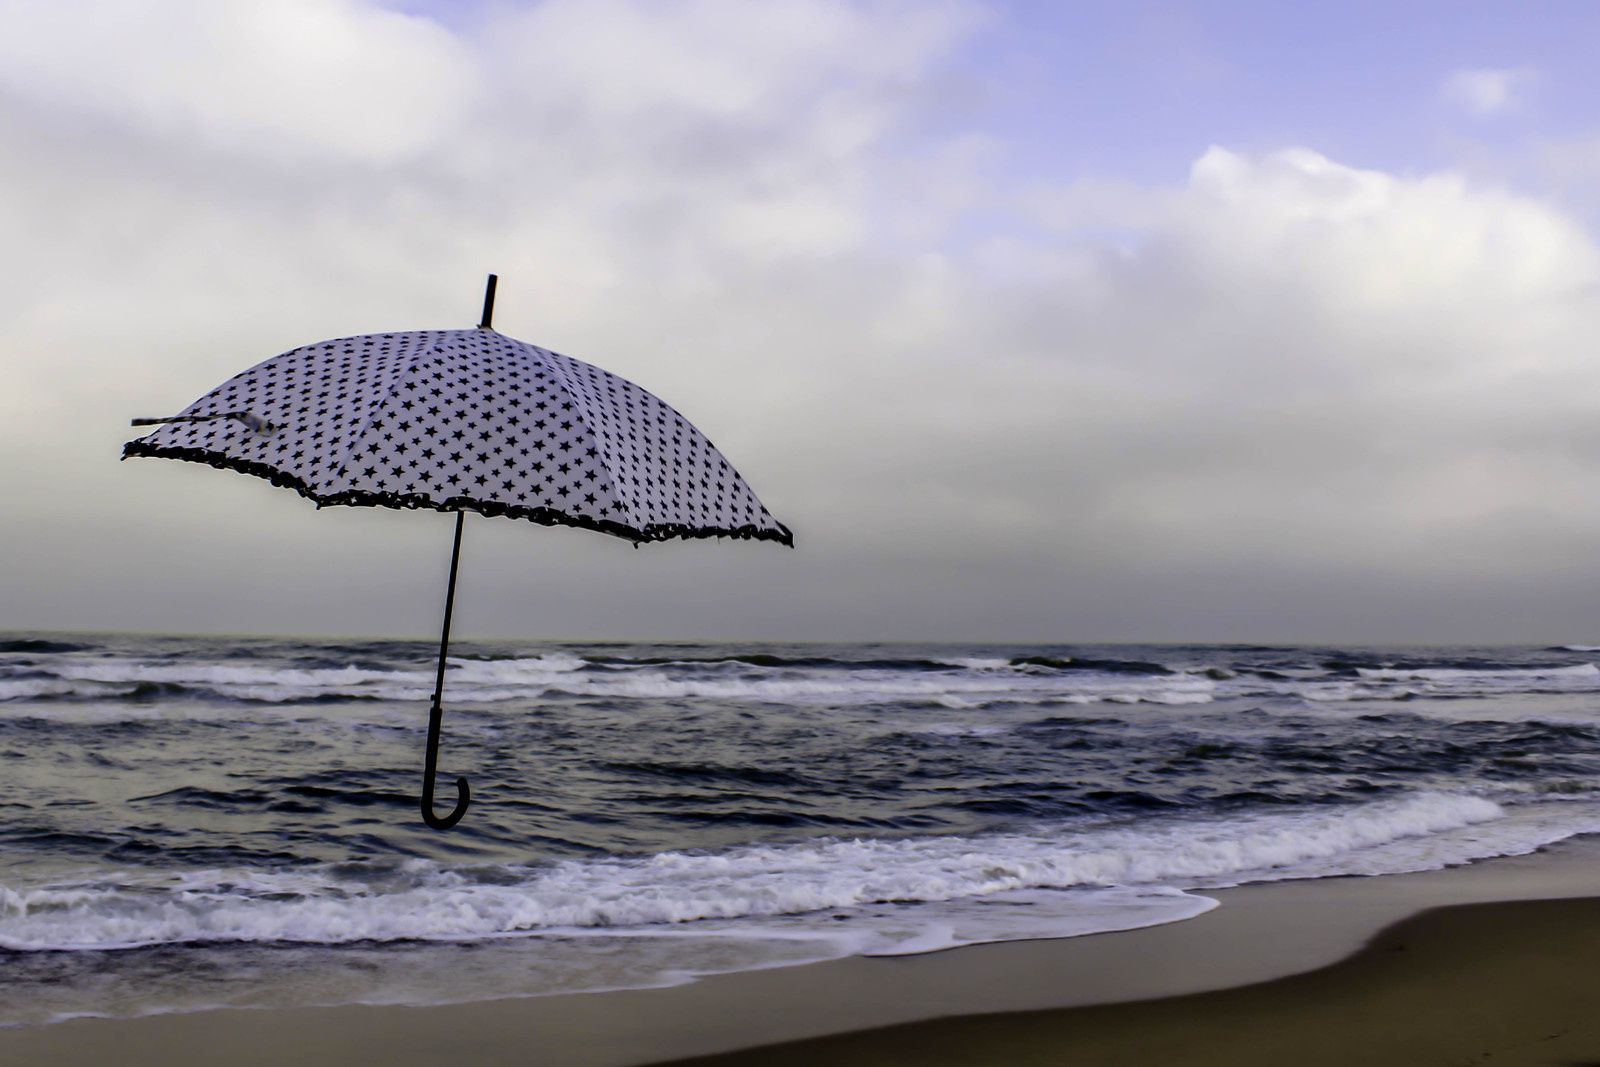
Aujourd’hui j’ai un l’occasion de travailler un peu sur l’application Picsart. Ici je vous montre la photo avec les effets que j’ai rajouté et la photo originale que vous avez pu voir dans un de mes articles.
Pour réaliser la photo avec les effets j’ai utilisé les 2 onglets suivants dans l’application :
- l’onglet pinceau
- l’onglet effet et sélection de l’effet flou
Ce travail a été fait à partir d’une tablette.
N’hésitez pas à laisser un commentaire, poser vos questions et partager l’article si vous le souhaitez.
Si vous connaissez d’autres applications de retouche photo vous pouvez le mettre en commentaire et c’est avec plaisir que je la testerai.
A très bientôt.
-
Hello everyone,
Today I have the opportunity to work a little on the Picsart application. Here I show you the photo with the effects I added and the original photo you could see in one of my articles.
To make the photo with the effects I used the following 2 tabs in the application:
The brush tab
The effect tab and selection of the blur effect
This work was done from a tablet.
Do not hesitate to leave a comment, ask your questions and share the article if you wish.
If you know other photo editing applications you can comment it and it is with pleasure that I will test it.
See you soon.
-
Hola a todos,
Hoy tengo la oportunidad de trabajar un poco en la aplicación Picsart. Aquí te muestro la foto con los efectos que agregué y la foto original que pudiste ver en uno de mis artículos.
Para hacer la foto con los efectos he utilizado las siguientes 2 pestañas en la aplicación:
La pestaña de pincel
La pestaña efecto y selección del efecto borroso
Este trabajo se hizo a partir de una tableta.
No dude en dejar un comentario, hacer sus preguntas y compartir el artículo si lo desea.
Si conoces otras aplicaciones de edición de fotos, puedes comentarlo y con mucho gusto lo probaré.
Hasta muy pronto.


/image%2F0537095%2F20240225%2Fob_84568f_atelier-macro-2024-023.jpg)
/image%2F0537095%2F20160522%2Fob_1d9572_fait-a-camelas-011.JPG)
/image%2F0537095%2F20180809%2Fob_df7b85_photo-argeles-004.jpg)
/image%2F0537095%2F20230507%2Fob_55070f_fleurs-au-jardin-de-thuir-047.jpg)